Early August 2003
Having always had an interest in astronomy, I've just decided to treat myself to a professional telescope. Having scoured the ads in the magazine Sky and Telescope, I've decided on a 12" Schmidt-Cassegrain Meade telescope. Also now having a place of my own I decided to set it up on a permanent pier. The really annoying thing is that Meade seem to add a 100 percent mark-up to their prices if you are unlucky enough to live in Europe as opposed to the US. Hopefully I should be able to get someone to purchase the scope for me in the US and ship it over to me.
10 August 2003
Having researched the various postings on the Meade Advanced products Users Group web site, I've just placed an order for a Milburn wedge. Delivery date will be sometime mid December.
11 August 2003
Following some Internet research looking into purchasing a professional dome, I've decided on a home built roll off roof design for the telescope housing. I am basing my plans on Chris Vedeler's observatory. Some of the key changes I am making, include building 6 piers of brick on which to rest the floor joists of the observatory, instead of cementing posts into the ground directly. This should help avoid any problems with wood rot here in the wet climate of Ireland. The size will be the same as Chris's plans, namely 12' by 10'.
Also picked a location for the observatory in the back garden. It's roughly centred in about half an acre of ground and aligned north - south on the long side (aligned with two sticks aligned by viewing the pole star last night). There are clear views from the northern horizon to the south east, my house raises up to about 10 degrees altitude in the south west and a hedge limits by western to north western horizon. To the north, where the roof will roll off to, there is a large tree which is not a big problem. All told, a pretty good location to do some astronomy from <g>.
12 August 2003
Started digging the pier and floor holes
15 August 2003
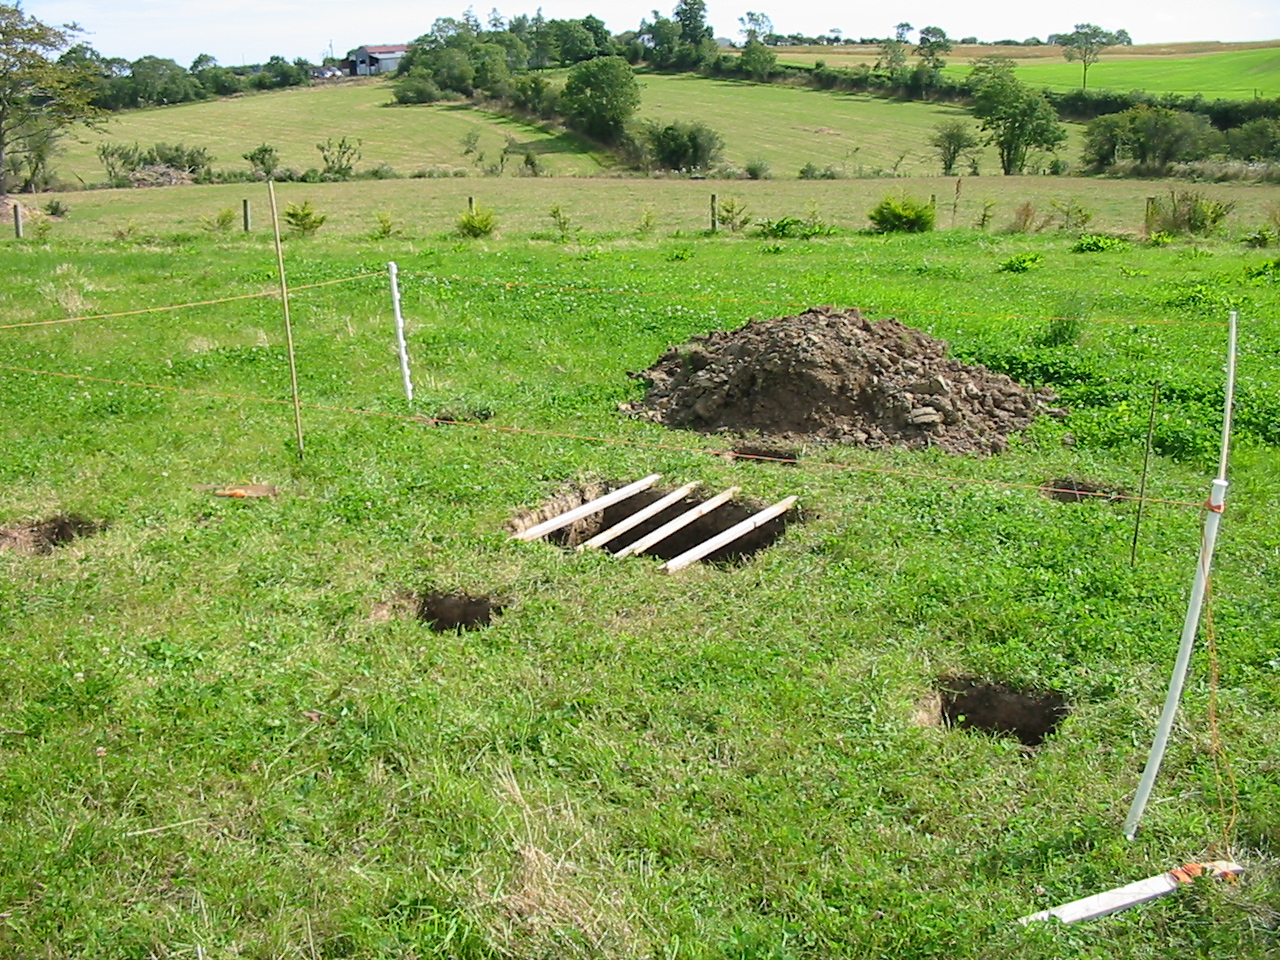
Completed digging all the holes. The largest hole in the picture below is for the pier. It is 3' 6" square and 3 foot deep, while the other holes are 1' 6" square and 1' deep. I erected a fence around the holes just in case anyone wandered too near!.
19 August 2003
Looks like Meade have come out with new LX200GPS models. They are called LX200GPS-SMT and include a webcam, Planetarium software with full support for Autostar functions and improved pointing accuracy. Since I have not placed the telescope order yet, this is the model I'm going to order.
20 August 2003
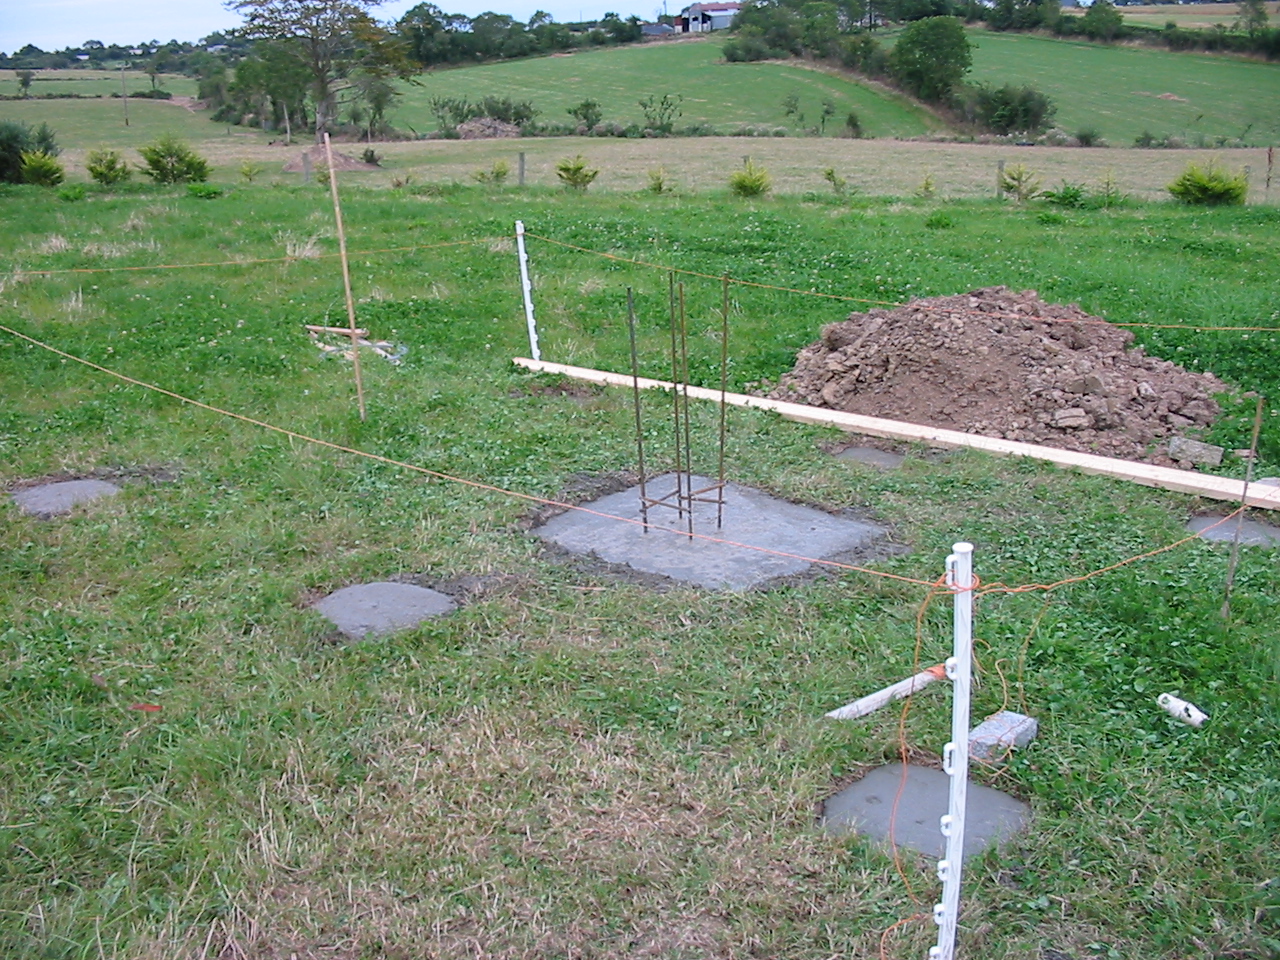
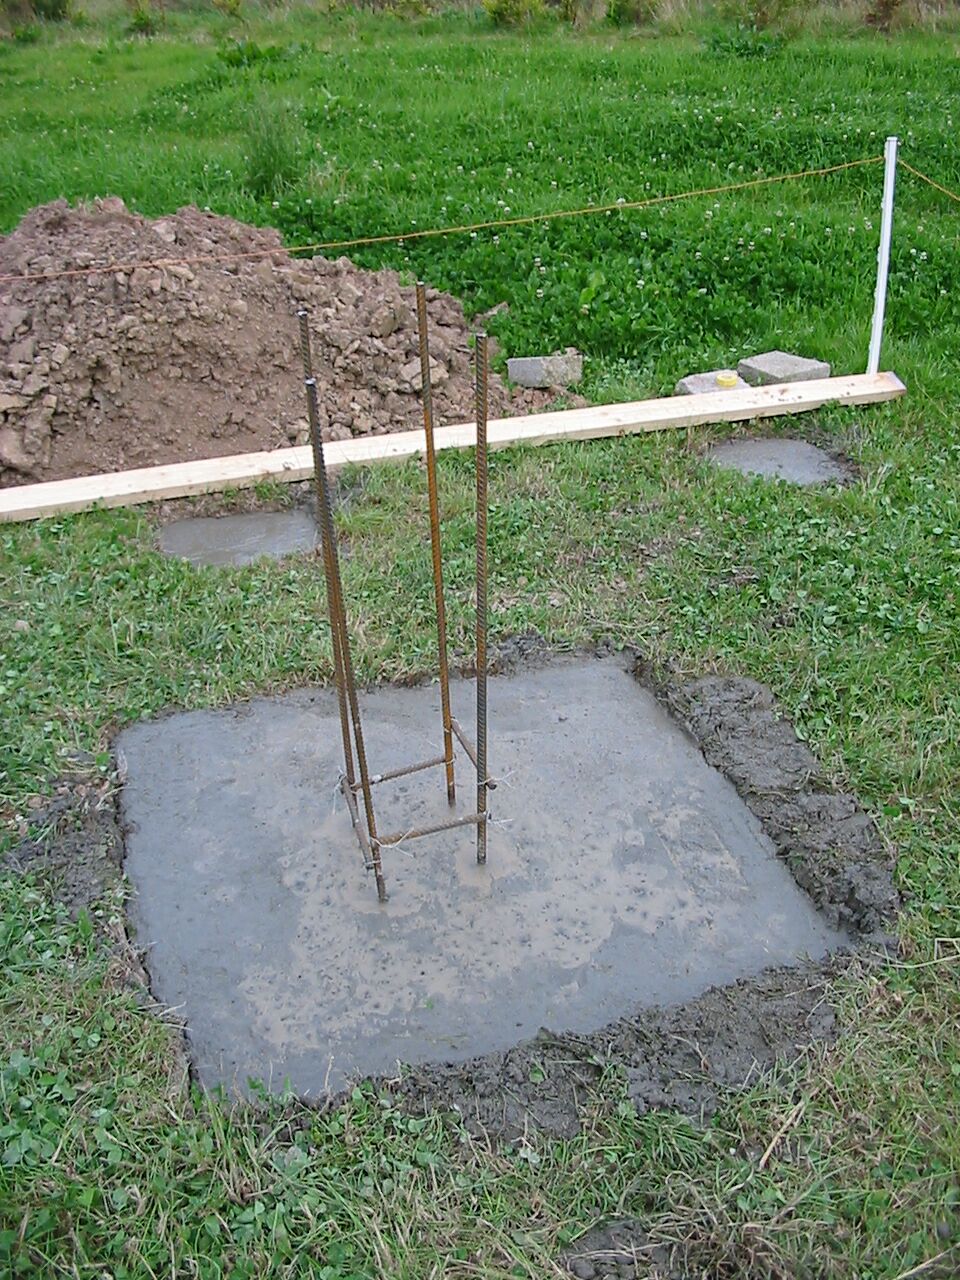
With some major help from a friend Paddy Harmon, the first cement is poured. It took about half a load of gravel and 13 bags of cement. Each of the 6 floor pads were reinforced with rebar. The central pier pour was reinforced with a cage of rebar left extending above the ground. While pouring the cement, it was packed down and tapped with a stick to avoid the possibility of air crevices or bubbles.
26 August 2003
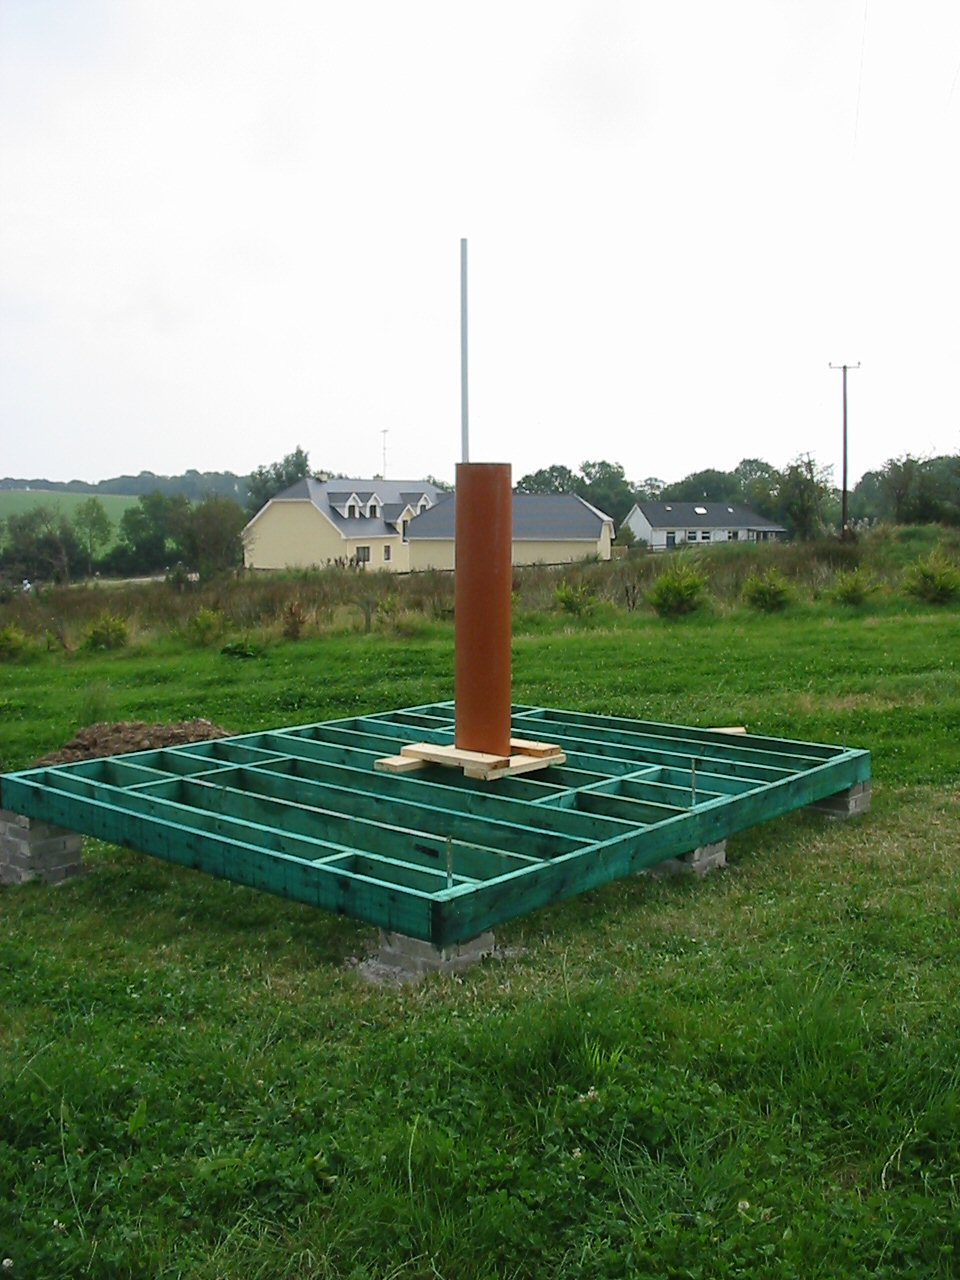
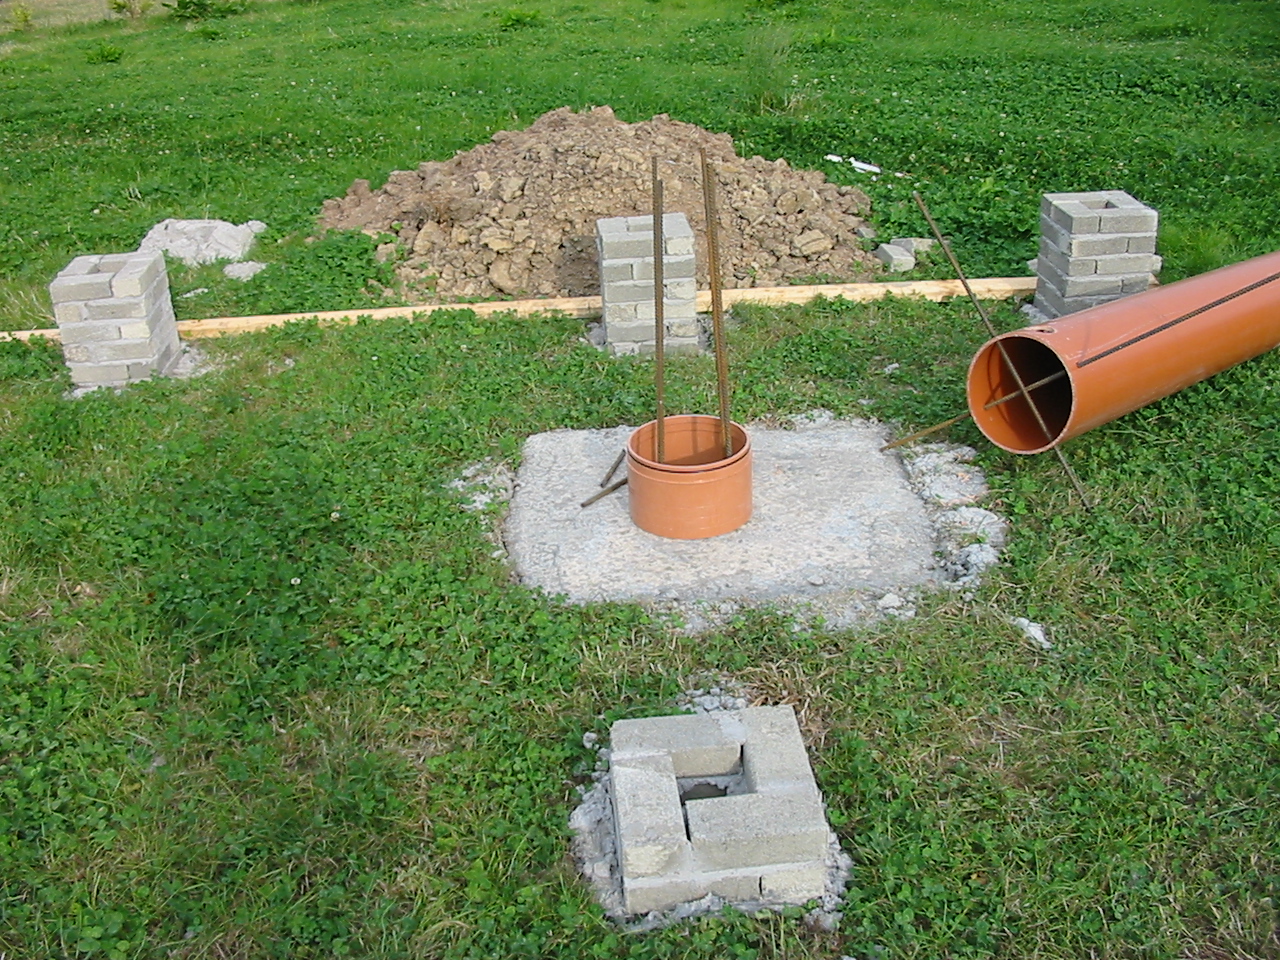
Started on the construction of the central pier and floor pillars. Because I will not have the scope for a number of months, I will erect the form for the pier, leaving it oversized and uncut and build the observatory around it. The pier will be formed by a length of 12" diameter soil pipe into which the concrete will be poured. The pipe will be left on and will form a nice smooth surface for the final pier. The small length of pipe on the pad in the picture below is just an off cut I used while pouring the initial concrete to ensure the top of the rebar cage was inside the pipe diameter. To hold the pipe into the concrete 2 lengths of rebar were also inserted into the bottom of the pipe before it was set into the form. The form was made of scrap 7" by 2" wood and about 9 inches of concrete were poured into it. The pipe and wood was gently tapped to get rid of any air bubbles. When I get the telescope, I can complete the pier to whatever height I want. The floor pillars were built with standard construction bricks. Because the site slopes off from south west to north-east, there are extra rows of bricks on the lower side of the site to allow the floor to be completely level. Note that the levels to which the concrete was poured in the floor pillars was accurately measured to allow for this before the concrete was poured into them.
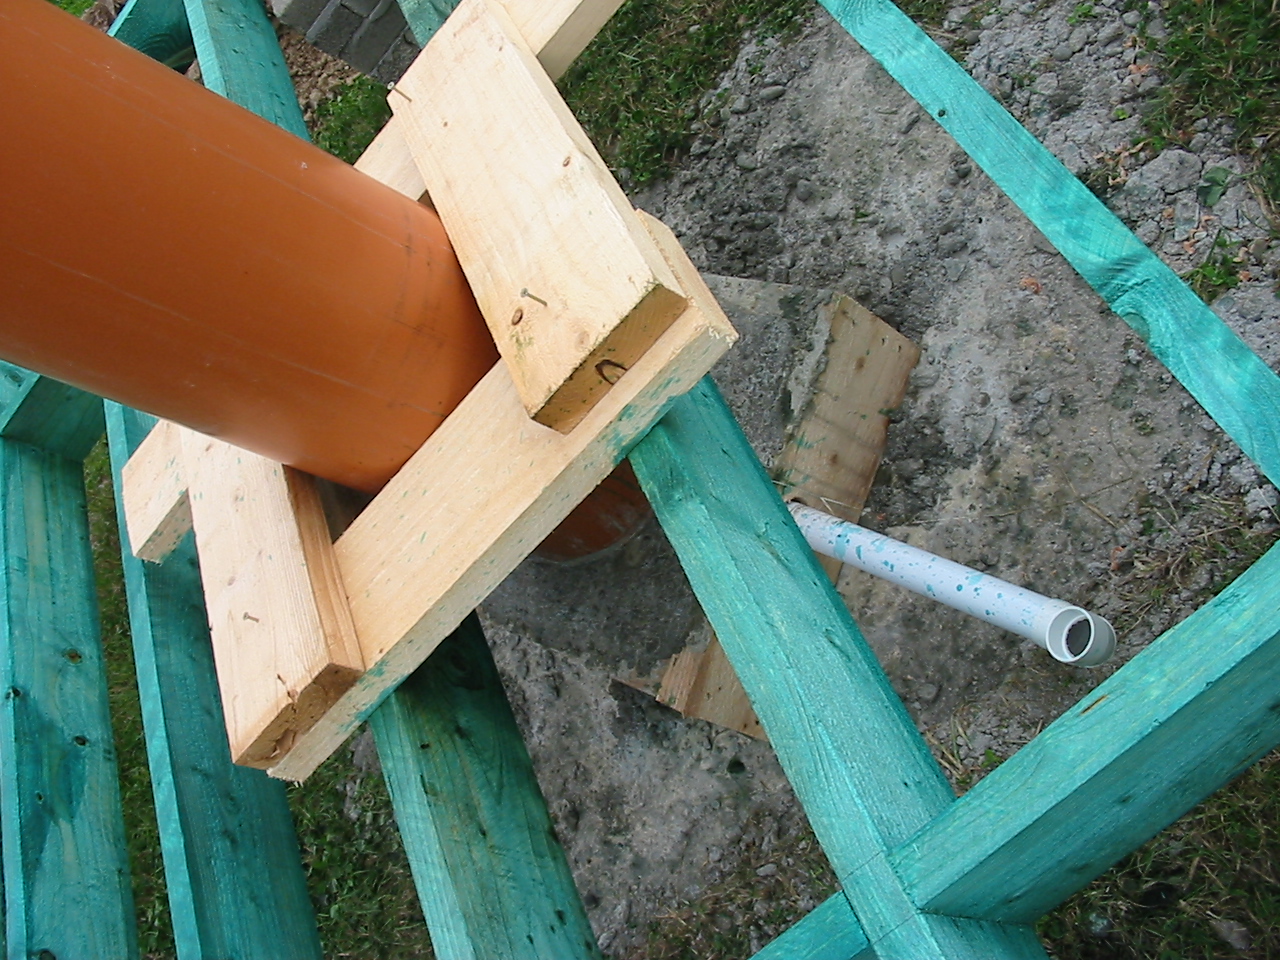
We also constructed the floor of the observatory tonight. We were working up till twilight tonight, so the pictures below were taken the following day, 27 August. The wood used is 7" by 2" floor joists which I treated with 2 coats of green wood preservative after it was built. The joists are 16" on centre. The floor was held down to the brick pillars with long angle iron straps which were concreted into the centres of the brick pillars, and screwed to the sides of the joists. No wind will raise this floor!!. Also notice the 4 lengths of scrap wood which we screwed to the joists around the telescope pier to hold the pipe perfectly vertical while the concrete in the bottom of the pipe and form set. There is a 2" diameter waste pipe (the white pipe coming out the top) also inserted into the pier and elbowed out of the form near the ground. This will allow me to neatly run any wires up to the telescope from underneath. When I finish the pier, I will add another elbow to bring it out the side of pier about a foot or so from the final top of the pier. Paddy commented that it looked like a submarine had just surfaced in the back garden!.

Another view of the work so far. The view is to the East and gives a good indication of the clear view I have all the way down to the horizon.